


How Do You Install an eSIM?
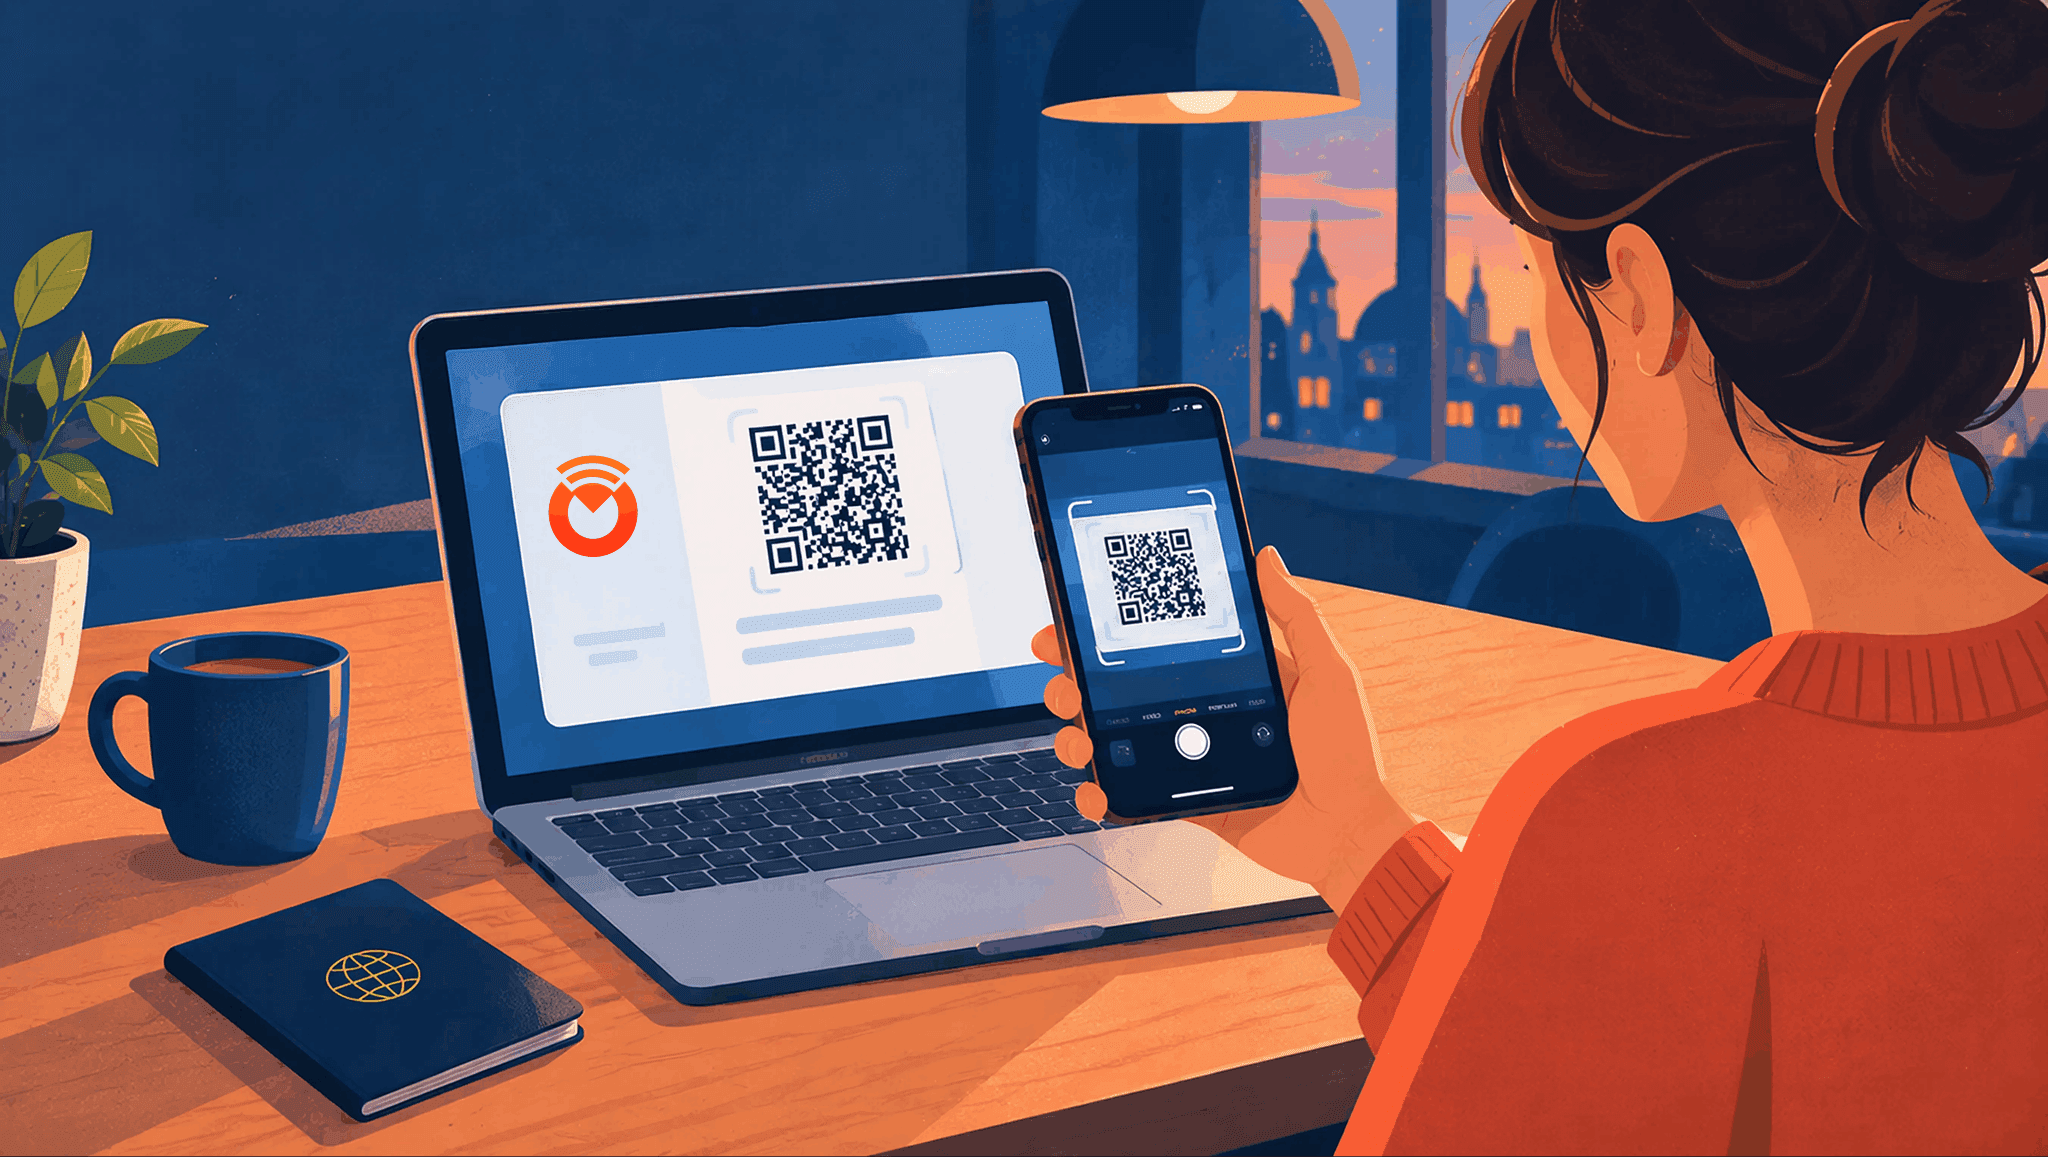
You install an eSIM - a SIM built into your phone, so there is no small plastic card to swap - by scanning a QR code the provider sends you, or tapping a direct link on your phone. Your phone downloads the data plan and adds it as a new line, usually in under five minutes.
You need wifi or existing mobile data to install it, so do this before you fly, not after you land. Below are the exact steps for iPhone and Android.
The key takeaway: install your eSIM at home on wifi, days or even weeks before your trip. It sits quietly until you turn it on, and your data only starts counting down once you connect to a network at your destination.
Before You Start: Check Your Phone Supports eSIM
Most phones from the last few years support eSIM, including recent iPhones, Samsung Galaxy phones and Google Pixel phones. Check your exact model on our eSIM compatible device list before you begin.
You'll also need your provider's QR code or installation link, which usually arrives by email right after you buy a plan on the Olysim plans page.
How to Install an eSIM on iPhone
Follow these steps on your iPhone:
- Open Settings, then tap Cellular, then tap Add eSIM.
- Choose "Use QR Code" and point your camera at the QR code your provider sent.
- Follow the on-screen prompts to confirm the new plan.
- Give the line a label, such as the country name, so it's easy to find later.
- Choose your default line for calls, texts and data. Keep your home SIM as default for now.
If the QR code is a link rather than an image, tap it directly on your phone instead of scanning, and iOS will prompt the same setup automatically.
How to Install an eSIM on Android
Steps vary slightly by phone brand, but the general process looks like this:
- Open Settings, then tap Network & Internet or Connections.
- Tap SIMs or SIM Manager, then tap Add eSIM or Add Mobile Plan.
- Choose "Scan QR Code from Provider" and scan the code you were sent.
- Confirm the plan details and let it finish downloading.
- Label the new line so you can tell it apart from your home SIM.
Samsung, Google Pixel and most other Android brands follow this same basic path, though menu names can differ slightly. If you get stuck, our full install guide has screenshots for specific phone models.
What to Do Once It's Installed
Installing the eSIM is only half the job. A few settings matter before your trip:
- Leave the eSIM data line turned off until you land, so it doesn't try to connect early.
- Keep your home SIM as the default line for calls and texts, so nothing changes for people trying to reach your usual number.
- Turn off data roaming on your home SIM before you land, so your home carrier doesn't charge you alongside the eSIM.
Once you land, turn on the eSIM's data line and turn on data roaming for that line specifically. Your plan starts counting down from the moment it first connects to a network at your destination, which our guide on what happens to your eSIM plan when you land explains in more detail.
Common Installation Mistakes to Avoid
| Mistake | Why It Causes Problems |
|---|---|
| Waiting until you land to install it | You need wifi or data to install, which you won't have right off the plane |
| Scanning the same QR code twice | Most eSIM QR codes only work once, so a second scan on another device can fail |
| Forgetting to turn on the eSIM line after landing | Installed but switched off means no data, even though setup is complete |
| Leaving home SIM roaming turned on | Your home carrier may still charge you for data alongside the eSIM |
Will My Phone Number Still Work?
Yes. Your normal phone number stays on your home SIM the whole time. The eSIM only adds a second line for data, so calls and texts on your usual number keep working exactly as before.
The Bottom Line
Installing an eSIM takes a few minutes and is best done at home, well before your trip. Scan the QR code, label the line, and leave it switched off until you land, then you're ready to go.
Pick a data plan for your destination on the Olysim plans page and get set up before you fly.


