


Short answer
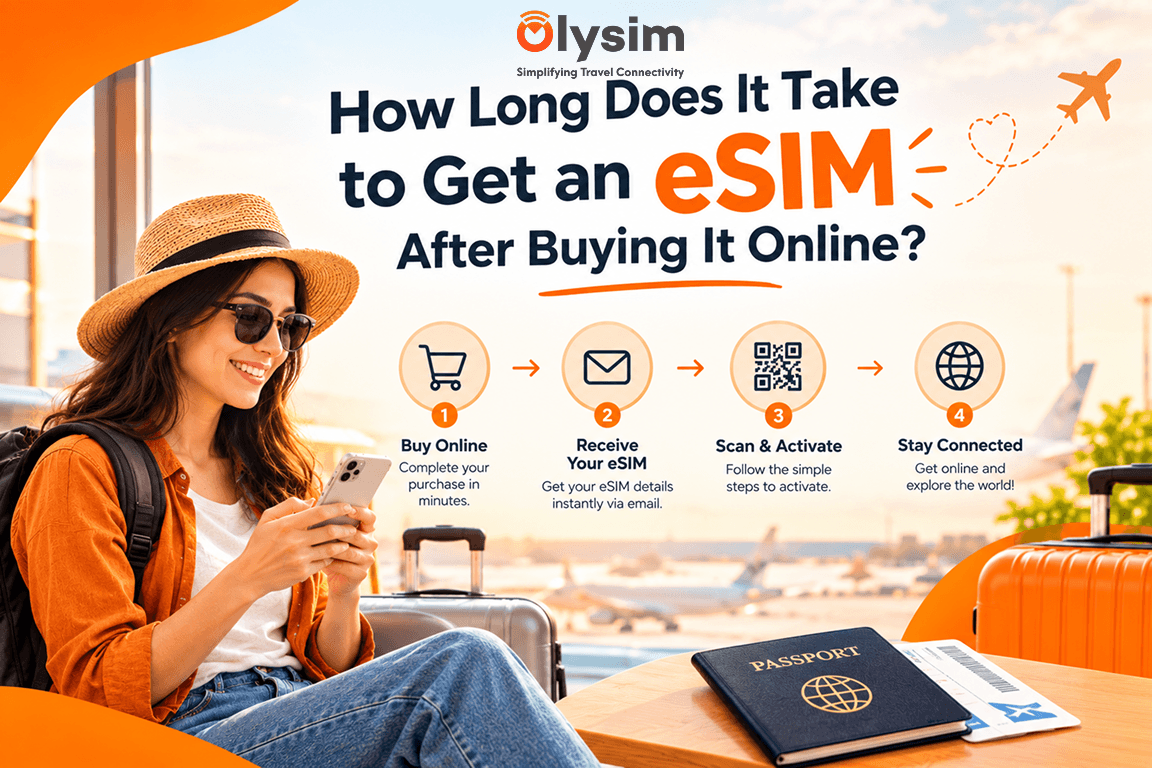
An eSIM usually reaches your email within a few minutes of paying. Setting it up on your phone takes about five more. Nothing physical is posted, so there is no courier to wait for. Buy it any time before your flight, ideally a day ahead so you have time to check it.
You are at your desk the night before a flight, the bag is half packed, and you have just remembered mobile data. The worry is simple: will the eSIM turn up in time, or will you land with no connection and a queue at the airport SIM kiosk?
This guide breaks the wait into the few stages that actually take time, with realistic figures for each.
The numbers from checkout to working data
An eSIM is a SIM built into your phone, so there is no small plastic card to post. People call it an eSIM card or an e sim, but what you receive is a QR code, a square barcode your phone scans to add the plan. That is why the wait is short.
Payment to email
Usually a few minutes. Most orders arrive almost straight away.
Email to installed
About five minutes. You scan the QR code and follow the prompts on screen.
Installed to online
A minute or two after landing, once you switch the data on and the phone finds a local network.
Total, in practice
Under fifteen minutes of your own time, spread across two moments: at home and on arrival.
These are typical figures, not a guarantee. Payment checks by your bank or a slow mail inbox can add a few minutes, which is why we suggest leaving a margin.
What the five minutes of setup involve
The wait that surprises people is not delivery but setup. Your phone needs an internet connection while it adds the plan, so do this on home, hotel or airport Wi-Fi.
Open the email on a second screen
The QR code must appear on a laptop or another device, since a phone cannot scan its own screen. If you only have one device, use the manual details in the email instead.
Add the eSIM in your phone settings
On iPhone, go to Settings, then Mobile Service, then Add eSIM. On Android, look under Network, then SIMs. A new line appears when it works.
Leave the data switched off until you land
The plan is stored and ready. Turn it on when you reach your destination and it connects within a minute or two.
The screens differ a little by phone, so our eSIM installation guide shows each one. If you want the other side of this question, read how to install an eSIM on your phone before you travel.
What makes it take longer than five minutes
Most delays come from three places, and all three are easy to avoid.
The email lands in spam
Check your junk or promotions folder before you assume it has not been sent. Searching your inbox for the word eSIM usually finds it. Add the sender to your contacts if you buy again.
The phone does not support eSIM
This is the one delay that costs real time, because you learn it after buying. Check your model on the eSIM compatible device list before you pay, and read how to check whether your phone supports eSIM in two minutes.
A weak Wi-Fi connection
A shaky airport Wi-Fi network can stall the install halfway. If the progress bar sits still for more than a minute, move closer to the router or switch to a steadier connection and try again.
Scan the QR code only once. After a successful install, it cannot be added a second time, so if you delete the eSIM by mistake, contact support rather than trying again.
When to buy, depending on your flight
| Your situation | When to buy | Why |
|---|---|---|
| Flying in a week or more | Any time that week | Time to check your phone and fix any hiccup |
| Flying tomorrow | Today, then install tonight | Leaves the morning free for the unexpected |
| At the departure gate | Right now, on airport Wi-Fi | It still works, but you have no margin for error |
| Already landed | As soon as you find Wi-Fi | The plan needs a connection to install |
Buying at the gate or after landing works, but the install then depends on whatever Wi-Fi is nearby. That is the reason we say buy before you fly: buying an eSIM after you land is possible, but it adds stress on a day that already has plenty.
How a physical SIM compares on timing
A physical SIM card is a different story. It is a real object, so it needs to be posted or collected, and that takes days rather than minutes. If your phone cannot take an eSIM, a physical SIM is the right choice, but order it a week or more before you fly.
The full trade-offs are in eSIM vs physical SIM for travel. For timing alone, the eSIM wins easily.
A realistic last-minute example
Say your flight leaves at 7 am and you are still sorting data at 9 pm. You buy eSIM online, the email arrives while you are still on the checkout page, and you scan it on your laptop screen at 9:10 pm. By 9:15 pm the line is in your settings.
At the destination you switch the data on at the gate, wait a minute or so for a local network to appear, and your maps and messages work before you reach passport control. If you want to see what plans are available for your route, the plans page lists them all.
The short version
Delivery takes minutes, setup takes about five, and the data starts when you switch it on abroad. Give yourself a day if you can, check your phone first, and install on Wi-Fi. That is the whole timeline.


